.JPG)

It is quite a simple rose with an uncomplicated shape, but I have never been able to do justice to its delicate coral/tangerine colour, I decided to do a fairly formal painting, as the Wells Cathedral Exhibition will soon be upon me, and although lots of clients enjoy looking at the more modern approaches that I sometimes use, they tend to select more traditional work for their walls!
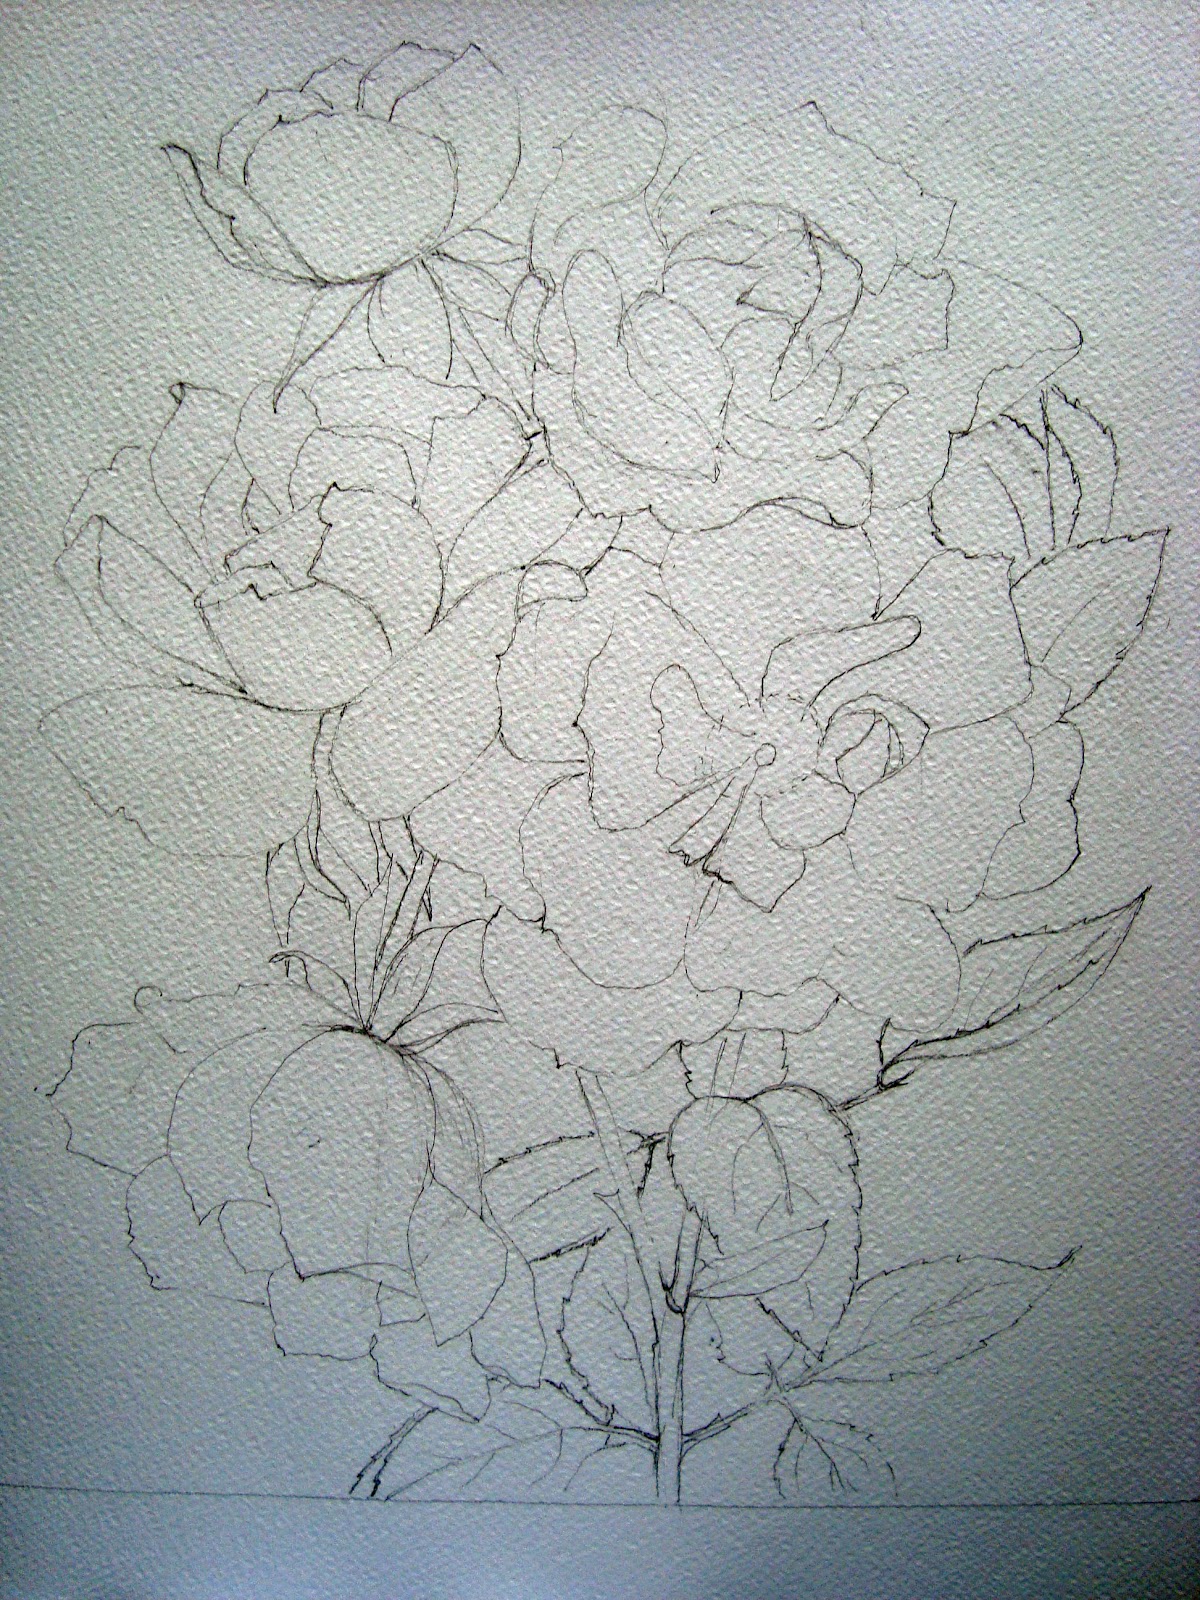
I started with a reasonably detailed drawing of the group that I had selected, having pencilled out the area that I wanted to fill, as I had a frame in mind which I was hoping to use. I did the drawing, as usual on Fabriano Artistico Extra White 300g Rough paper 12'' x 18''.
I wanted as little as possible of the pencil work to show in the finished painting, so, working on one flower at a time, I gave each of the petals a very light wash of pale tangerine (Cad.Yellow and Winsor Red, I think), painting up to within 1mm of the pencil line. When the whole flower was covered in this way and dry, I rubbed out the pencil markings and was left with each petal identified by a very pale wash and a thin white border. The flower could then be freely painted in the final colours. I used mixtures of the cadmium yellow, azo orange mixed with a variety of pinks, reds and yellows to get the flower colours. I only paint one flower at a time, with a bit of background so that as the painting progresses, I am still able to erase and re-position or re-shape flowers within the composition. There are disadvantages of this method but it works for me!

I continued to work in this way, adding a few more darks into the centres of each flower as the painting progressed and trying to create shadow areas on the left hand side of each bloom

I always add bits of background as I go along, as this helps to give the flowers form, and I often moisten the edges of the petals so that small amounts of the background paint can seep into the flower petals, thus softening the edges. It also helps with the ongoing thoughts about which colours to make predominant in the background

When the flowers were complete, I used vibrant blues and greens in a very random fashion, with extra water sprayed into it, to create an informal but strong background to the roses. I added a little shadow, but kept it very low key! Hope you like the finished result, even though it is more formal than some of the work I have been doing lately!
Thank you so much for your very instructive posts. You are a generous contributor to the blogging world. I've been inspired by some of your work to the extent that I've started to work on flowers and found a copy of the Iris book you referenced recently. I'm going to be working on flower images for a while. Your fault.
ReplyDeleteThanks for the comment Mick. Glad you have found something to wet your appetite, but don't blame me, blame nature. She provides the glorious miracles. Will look forward to seeing your challenge to Peter when you opt for a flower painting. He has done some lovely ones in the past. Clay Perry did the photos for another book in that series on Tulips which I use quite a bit, and for David Austin's book on Roses.
Deletethanks for the very informative instructions to your work. a beautiful composition with lovely colors
ReplyDeletegreetings maria
Thanks Maria. I am happy describe what works for me. I am glad you enjoy the blog.
DeleteAnother lovely painting.
ReplyDeleteThank you Peter
Delete